Thursday, June 26, 2014

Chicken Bacon Alfredo Gnocchi

I pinned it on Wednesday. I made it on Thursday!


And I'll make it again. It was really good. And I hardly changed a thing from the original recipe.
Here's their ingredient list:
3 cups gnocchi
2 cups frozen broccoli
2 cups cubed cooked chicken
1/2 cup crumbled cooked bacon
1 - 15 ounce jar Alfredo sauce
1 1/2 cups shredded mozzarella cheese

Here are my ingredients (plus 6 strips of Oscar Mayer bacon unpictured):
No, this isn't an ad for Target brand products...but it could be!
I started to thaw a package of chicken breasts, but then realized I had 1/2 a rotisserie chicken. So I shredded some of that up (didn't measure it). I think that savory flavor added even more to this dish. I chose a style of gnocchi that is smaller in size compared to those in the original recipe (I've always preferred the petite ones). If you've not purchased/cooked gnocchi before don't be afraid! It's easy to find in both the noodle isle and the frozen food section. I purchased mine in the noodle isle, and it cooked on the stove-top in 2 easy minutes.

Now for the sauce. I've never liked the taste of store bought alfredo sauce, and haven't purchased any in years. But I gave it a chance with this "Prego Homestyle Alfredo", and it complimented this dish perfectly.

If you're a big fan of garlic, go for it! A small amount would marry well with this casserole. And if for some crazy reason you're not into cheese (really?), you could leave it out and this would still be a great meal.

Back to the recipe. It instructs you to place & mix the ingredients in a casserole dish, but I don't own a fancy (nor large) casserole dish. So I placed the ingredients in a large bowl, mixed them, then transferred the mixture to my old-school casserole dish.


Next I topped the mixture off with what appeared to be a ton of shredded mozzarella (it looked like a dish full of cheese). I popped it in the oven for 22min and broiled for an additional 2min.

Tah-dah!


Seconds, everyone?

Thursday, May 22, 2014

My Pinned Life's 1st GIVEAWAY


Start the Music! POUNDING PERCUSSION

The first person to follow My Pinned Life, and share their favorite My Pinned Life blog post (on Facebook, Twitter, or Instagram) will receive a family 4-pack of tickets to the St. Paul Chamber Orchestra's Xplorchestra Family Concert, 11:15am this Saturday, May 24th in St. Paul, MN!

The concert is vibrant (and short) to keep your tot or tween's attention. Ideal for ages 3-6, and fun for everyone.

Don't delay, follow & share today so you get the tickets in time for the show!

Wednesday, April 30, 2014

Cowgirl Pony Party (Part 2: The Grub)

I was still busy prepping food when the kids started getting a bit wild. Who could blame them, it's a party! So we sent them outside to try out their stick ponies, and enjoy a cold beverage from the corral (cooler). It was stocked with root beer, sarsaparilla, and of course chocolate milk boxes. What cowhand wouldn't enjoy this selection?

The dads kept an eye on the kids, while inside we (mostly moms) put the finishing touches on the food, and had pink lemonade and cowgirl caviar to tide us over.

I had the carafe & burlap 'n lace runner left from my Vintage Woodland Baby Shower!
 

Yes, it's COWGIRL Caviar! What's the difference from the more common cowboy version? I took this Cowboy Caviar recipe (http://www.pinterest.com/pin/17170042303965717/) and made it my own by leaving out the black beans and peppers (and slightly adjusting ingredient quantities). Here's my Cowgirl Caviar:

    5 diced Roma tomatoes
    1/2 chopped red onion
    4 cloves crushed garlic
    1 small handful chopped cilantro
    1 can corn
    2 teaspoons salt
    Juice from 1 lemon

    Allow the mixture to set in the fridge for at least a couple hours before serving.

I kept the menu simple and kid friendly by doing single serve finger foods. Cowgirls don't use utensils anyway right? I purchased troughs (disposable tins) for the kids to load their food in.

Including Watermelon Pitchforks.


Ranch Carrots, and Rice Krispies Hay Bales.


It just so happened Target stores had some cute little wood pens for sale in their Dollar Spot area. So I used those to put some of the food in

I also rustled up some Lasso Dills, and Gold Nuggets!

I admit I have poor handwriting, but chalk sure is tough to write nicely with.

The "lassos" were extra skewers left over from the Vintage Woodland Baby Shower. And though we never really have them at home, we thought chicken nuggets would be a crowd pleaser over all, and they were. BBQ Pulled Pork Sliders, and Campfire Baked Beans were also on the menu! As you can see, there was plenty of selection to accommodate kids and adults alike.

I considered doing it all a bit fancier. Fancy is actually quite easy to do, but kids and cowgirls like it simple (and within reach). So that's what I did and everyone was happy, and full. But not too full for cake! My sister & brother-in-law treated the birthday cowgirl to a pony cake.


The lower, pink, portion was chocolate, and the horse part was vanilla. Each with three layers of deliciousness.

And if that didn't stuff the kids tummies enough, they were sent home with a baggy of homemade Trail Mix including cheerios, pomegranate Craisins, almonds, chocolate chips, and Jet-Puffed Mallow Bits (tiny marshmallows). All tied up with a pink or brown twine bow.

Follow me on Pinterest to check out my Cowgirl Pony Party board to see which pins inspired this party!

We also had a second birthday party to celebrate with family. At that party the main dish was:

http://www.pinterest.com/pin/17170042304072775/
And boy were they good, and EASY! I highly recommend this pin. The only thing I did differently from their recipe was to use only 1/2 an onion. I happened to have a 1/2 red onion left over from the day (party) before. Yum, yum, yum.

I also had a Pinterest recipe fail while prepping for party number two. Which was completely my fault. I intended to make these Tortilla Pinwheels, I was going to call them Wagon Wheels.

http://www.pinterest.com/pin/17170042303965578/
I had 4 hours to go before the guests arrived, when I remembered that the instructions say to refrigerate the pinwheels for at least 6 hours before serving. Ugh, that was so frustrating! I had all the ingredients and was ready to make them, but I couldn't do it in time for the party. So instead I went out and bought some good bread. I made texas toast topped with butter and fresh garlic. It was a delicious place holder for the pinwheels.

I did make the pinwheels a week later. I altered the recipe by leaving out the veggies and instead using chunky salsa. I also used half plain flour tortillas, and half jalapeno cheddar tortillas. This gave you a spicier option, and also made the plate more attractive with the variation of white and orange pinwheels.

Next event, I need to hire a photographer! So many things I didn't get a chance to photograph.

Thursday, April 24, 2014

Sweet Easter Gifts (Part 2)

I was looking for a cute way to gift our new nephew his Easter Peep (plushy bunny), and thought it'd be nice to package it with some treats for his mom & dad. So I took one of the decorative trays left from my daughter's Cowgirl Pony Party and filled it with the goodies. But first I made a quick mason jar nest to include!


The bunny is so soft. I kind of wanted to keep it for myself, and pass it off as belonging to the kids. We purchased it at the Peeps store at the Mall of America! I'm sure you can find them online as well

Wednesday, April 23, 2014

Cowgirl Pony Party (Part 1: Fun & Games)

http://www.pinterest.com/pin/155233518378802347/
http://www.pinterest.com/pin/17170042303434241/
http://www.pinterest.com/pin/41869471507710938/


First on my list when planning a child's birthday party, decide on a theme. Don't be afraid of that word "theme". It can be anything really! For my daughter we've done a theme based on a season (spring, for her 1st birthday), a color (for her 2nd birthday), and based on a story (The Lorax by Dr. Seuss, for her 3rd birthday). This year, for her 4th birthday, she decided on cowgirls & ponies. And from there we were off!

I poured through Pinterest boards and came up with some great pinspiration. I started with these pin ideas for fun and games! Its really nice that she's old enough now to give real input on her party planning. She was giddy at the thought of the kids getting to wear tails! And she'd never had a pinata before.


And here's how it turned out...my birthday girl was decked out in a custom Bandana Bell cowgirl dress made by her grandma! And fitted with her own stick pony and tail! She referred to herself as a "Princess Pony Cowgirl". The dress was inspired by the photo above, but really I just told Grandma the only requirements were that it included bandanas and the colors light pink and purple. So I picked up a couple bandanas at Jo-Ann Fabric, Grandma's sister had a super cute pattern, and Grandma made it happen! You can check out her blog too (http://maryonlakepulaski.blogspot.com/2014/04/cowgirl.html).


Mid pony ride with pink popcorn in her mouth & balloon in one hand.

While at Jo-Ann Fabric, I also picked up the felt for the stick ponies, and the yarn for the tails. Grandma made those too, with the exception of the stick portion which my husband made. The original stick pony pin has thorough instructions for making your own. Though I'd recommend using something heavy duty (and applying it liberally) to adhere the fabric pony heads to the wood sticks. The first time a child, or adult, grabs one by the head instead of the stick it will simply pop off! They do slide right back on though.

It was fun to hand out a hat, stick pony and tail to each little cowboy and cowgirl. I even saw a couple of the youngest cowgirls brushing their tails.


All 10 of them were able to get their wiggles out by riding their ponies and breaking open the pinata!


We also did face painting! I found face painting crayons at Michaels (you can also get ones with stencils). Having never tried the crayons before, I was surprised how nicely they worked.

The kids kept busy and had a blast. I've never been so happy to hear so much (excited) screaming. And we really lucked out with the weather (it had been cold all week, and rained the morning of the party)! She was a very happy birthday girl.

In the upcoming part 2 of this post I'll fill you in on all the party food!

Tuesday, April 22, 2014

Plant Jelly Beans

Last year I found this pin, and my daughter loved it!

http://www.pinterest.com/pin/60446819970828238/

So we made it a tradition! This year, the evening before Easter we planted a few "magic jelly beans".


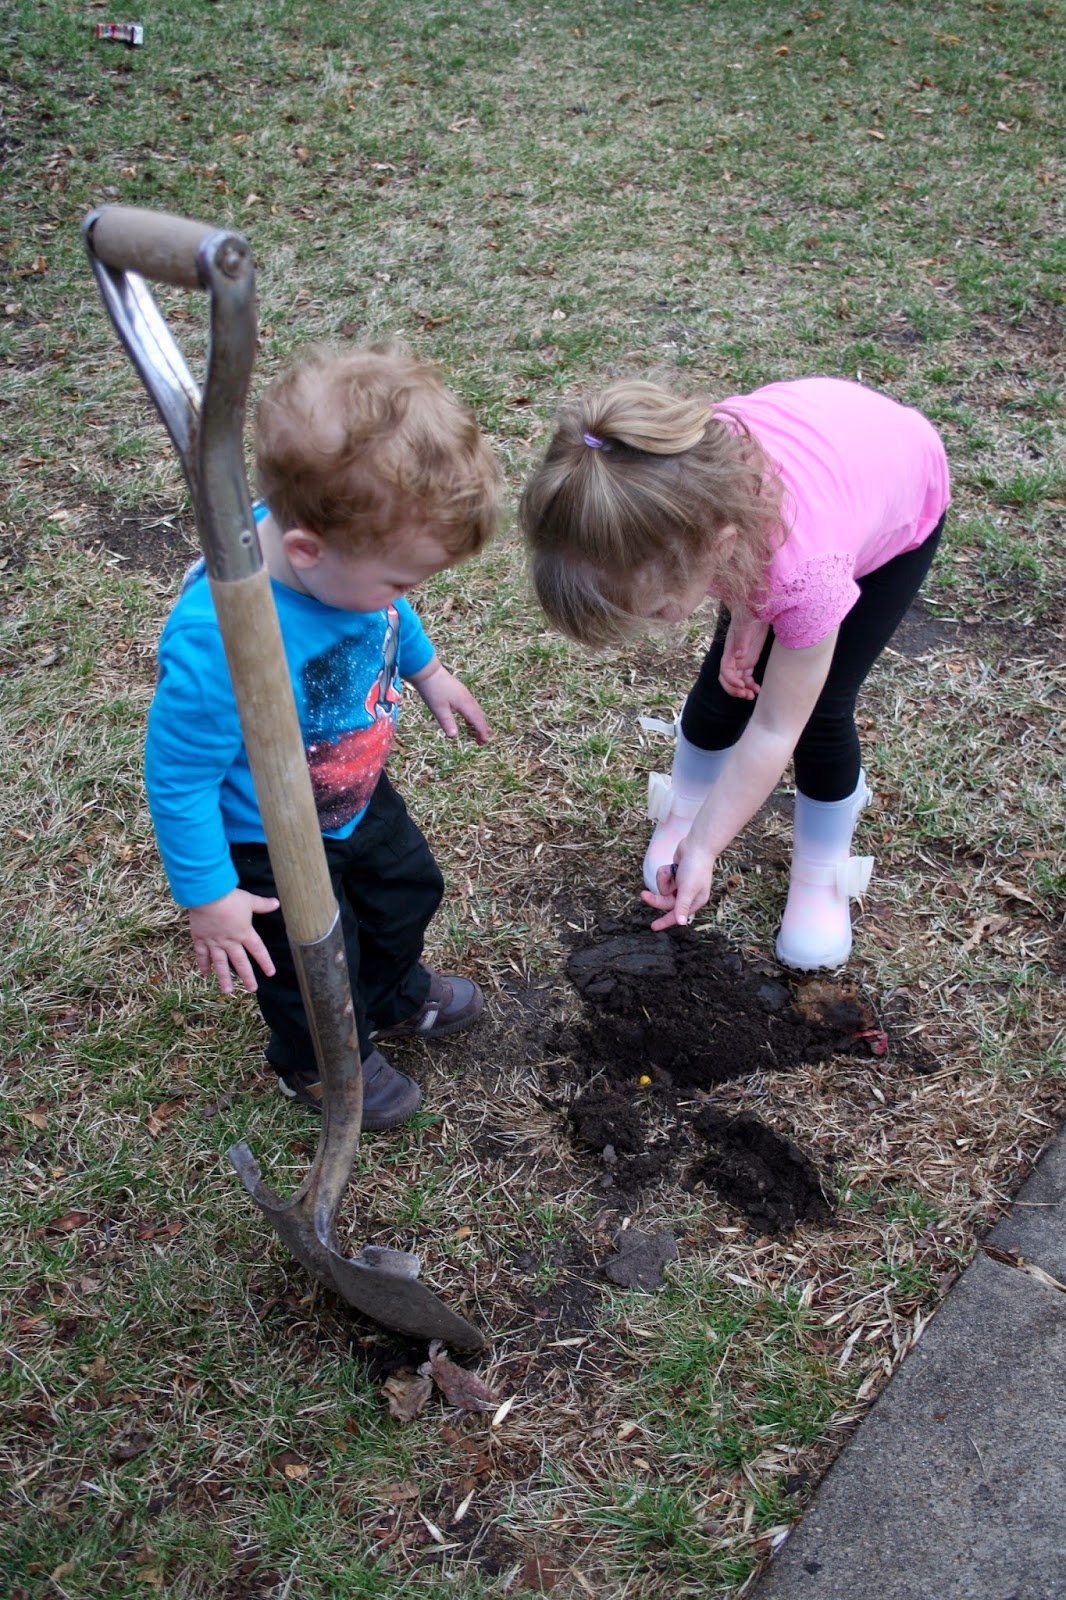
The kids really enjoyed planting the beans, especially packing the dirt down on top. The next morning, as we left the house for Easter festivities, the first thing they saw was the special treat that grew over night! Did you know, it only works the night before Easter?

Overjoyed.
First dibs.
So excited.
Who knew scrolling through Pinterest would lead to so many good meals, a prettier home, extra fun celebrations, and new family traditions!

Thursday, April 17, 2014

Mini Barbie Cake

My daughter turned 4 last week and we celebrated with a cowgirl themed birthday party (stay tuned for that post)! But that was on Saturday. The day of her actual birthday was in the middle of the week, and she had been asking for a Barbie cake for her party. So on her birthday I surprised her with a mini version for dessert.


I must say, it was really easy and the perfect size for our kids to share. I thought it turned out pretty cute, especially being I had only a few minutes to decorate! If I had the time, I would've spent a half hour perfecting the icing dress, but my daughter was more than thrilled with it as is.

I used 2 cupcakes (I baked a batch of Pillsbury Funfetti), 1 can of Wilton Ready-to-Decorate Icing, and a "Madison" Barbie doll (less than half the size of a regular Barbie doll). Start by wrapping the doll with some sort of cling wrap. Wrap her up tightly, and as high up as you want the skirt of the dress to go.


I placed one cupcake upside down, and with the other I cut the top off to level/narrow it to be used as the upper portion of the "dress".


Forget the creepy cake picks, and the molds. Use a real doll and the birthday girl not only gets a fun cake, but also a doll to keep. I don't know any child that wouldn't be disappointed to learn the "doll" in the cake was just a pick!

http://www.kitchendresser.net/wonder-mould-doll-cake-pan-set-3928-p.asp


I was surprised how easily the doll went in (and stayed). I just cut and "X" into the cupcakes with a butter knife and inserted the doll.

The icing went on nicely too. The can actually came with 4 frosting tips for different types of decorating.


The cake was moist and the frosting, from a can, was actually delicious! I will do this again.